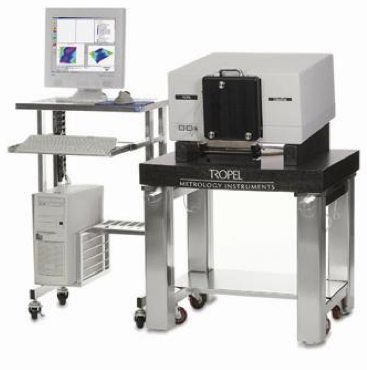
Ultra Flat
Ultra-precise flatness measurements of substrates, mask blanks and photomasks.

The Corning Tropel Corporation designed the Tropel® UltraFlatTM 200 Mask System specifically for the photomask industry. It delivers the lowest measurement uncertainty for ever-tightening mask flatness specifications. Shrinking device features require not only flatter wafers, but flatter masks, as small devices require flatness. The UltraFlat system is used to measure flatness of photoblanks and photomasks throughout every stage of manufacturing and use, including, substrate polishing, coating and patterning to analyze film stress, and verification.
The UltraFlat system utilizes near-normal incidence interferometry, rock solid structural design, state-of-the-art optical fabrication techniques and Tropel’s renowned phase shifting analysis software to deliver six-nanometer measurement uncertainty. The system is NIST traceable and provides measurements that conform to SEMI standards. An automated photomask robotic handling and measurement configuration (not shown in photo) is also available. The 3-D data analysis system runs on Windows and creates contour, isometric, histogram, and site plots.
Browse our Catalog to learn more about the Tropel UltraFlat 200 Mask System and other metrology instruments.
| Specifications: | |
| Uncertainty | 20 nm (0.8 u") |
| Dynamic Range | 10 um (typical, limited by surface slope) |
| Mask Sizes | < 6" (6025, 5009 and others upon request) |
| Measured Data Points | ~ 1,000,000 per measurement |
| Measurement Time | < 30 seconds |
| Standard Measurements | Front referenced flatness, local slope, stress, microwaviness, x-y polyfit |
| Data Analysis | 3-D, contour, isometric, histogram, site plots, site analysis |
| Options: | Automated part handling |
| Enclosure |